
The 7 Steps to a Successful Renovation: From First Visit to Key Handover
The 7 steps of an apartment renovation in Paris, from the first visit to key handover: a clear roadmap for approaching each phase of the project with confidence.
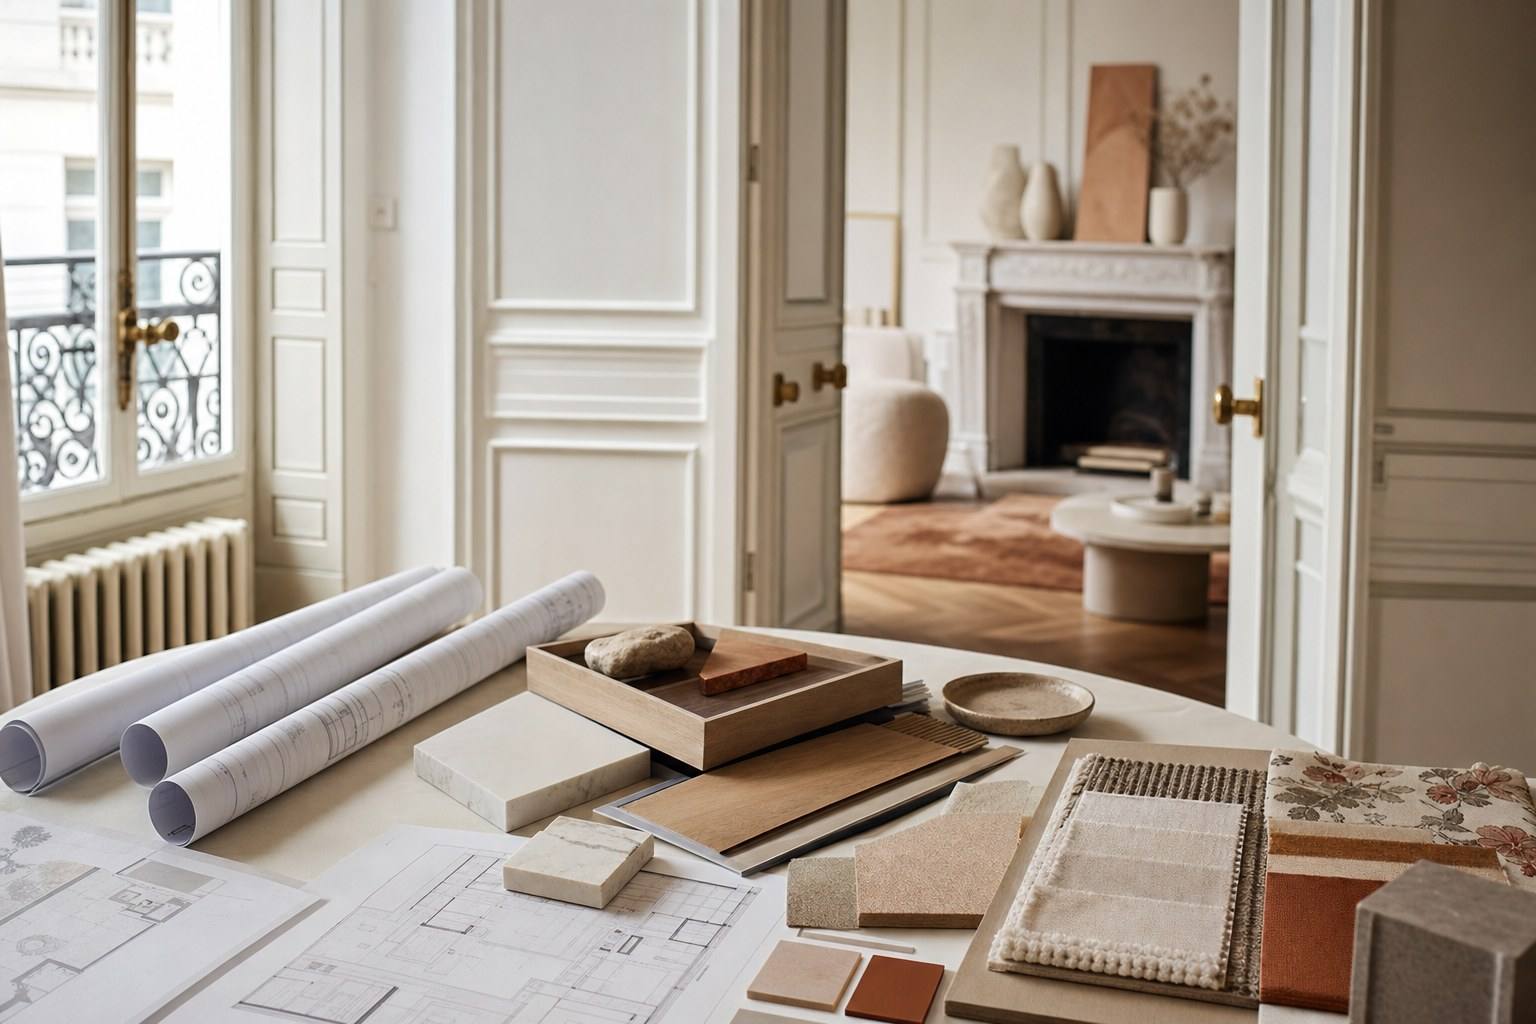
Renovating a Paris apartment often looks, from the outside, like a journey through fog: you know where you are starting from, you can more or less picture where you want to arrive, but the path between the two feels unclear. In fact, the concerns clients share with us are rarely about the final result, which most people can visualise quite well, but about the how: in what order things happen, when each decision is made, and who oversees the whole process.
Yet a well-run renovation is not a leap into the unknown. It follows a clear thread, a sequence of stages that unfold according to their own logic. Making that thread visible is already a way of taking the drama out of the project: you understand that each phase prepares the next, and that the important decisions are always made at the right time. Here, step by step, are the seven stages that take you from the first handshake to key handover.
In brief
- A renovation unfolds in 7 stages that follow a logical sequence, from the feasibility study to after-sales support.
- Half the work happens before the building work begins: the more precise the design and costing, the fewer surprises there are on site.
- In Paris, authorisations (co-ownership, city hall) are a stage in their own right: they shape the timeline.
- The handover inspection with a snagging list and the legal warranties protect the owner long after the works are complete.
Step 1, The visit, survey and feasibility study
Everything begins with an on-site meeting. This first visit is not simply an introduction: it is a moment of listening and observation, where two realities are brought face to face, your wishes on one side, and what the property can genuinely allow on the other.
In practical terms, this stage includes:
- A survey of the existing space: precise measurements of each room, ceiling heights, location of services, and identification of load-bearing elements.
- Understanding the way you want to live: how many bedrooms, which uses, your relationship to light, and which rooms should be opened up or enclosed.
- An initial feasibility diagnosis: what is possible, what would require major works, and what comes up against a technical or regulatory constraint.
In an older apartment, this reading of the space requires experience. A wall that appears insignificant may be load-bearing; an ordinary partition may conceal a flue or service duct. Leaving this stage with an accurate view of what is achievable prevents many disappointments later on.
Step 2, Design and plans
Once feasibility has been established, the project begins to take shape on paper. This is the design phase, the most creative stage, and one of the most decisive for the final outcome.
Your intentions are translated into plans: the new room layout, circulation, kitchen and bathroom positioning, and storage locations. We think in terms of volume, light and everyday use. A good plan is not merely attractive: it makes life flow more easily.
Why this stage deserves time
It can be tempting to speed things up in order to get to the serious part. That is a mistake. Every square metre reworked at this stage costs a pencil line; the same change, once the site is under way, costs days of labour and wasted materials. Taking the time to refine the plans means investing where it costs the least.
Step 3, Costing and choice of materials
The project has been drawn: it now needs a price and a material language. These two dimensions are inseparable, because the budget depends directly on the finishes selected.
This stage involves:
- Preparing a detailed quote, item by item, rather than a single price per square metre that would conceal disparities.
- Choosing materials and fittings: flooring, tiles, taps, joinery, kitchen type, and the level of paint finish.
- Balancing wishes and budget, by identifying where to invest and where to remain measured.
This is where the project becomes realistic. A serious costing, supported by precise material choices, is the best protection against unpleasant surprises. As a 2026 indication, a complete renovation in Paris most often ranges from 1 200 to 2 000 €/m² depending on the level of finish, but only an itemised quote, based on your actual choices, has real value.
Step 4, Authorisations
This is a stage that is too often overlooked, yet it is essential in Paris. Before touching even a single wall, you must ensure that the project is authorised, on two separate levels.
Within the co-ownership
Most Parisian buildings are held in co-ownership. Certain works must be declared, or even submitted to a vote at the general meeting: work affecting a common area, changes to the façade, creation of an opening, and sometimes even certain works affecting the structure. The co-ownership regulations also set the permitted hours and conditions for the building site.
With the authorities
Depending on the nature of the works, a prior declaration may be required, for example, to alter the exterior appearance, replace joinery visible from the street, or in protected areas. These procedures can take several weeks and determine when the work can begin: a well-planned renovation incorporates these timeframes from the outset rather than discovering them along the way.
Step 5, The works and coordination
This is the most visible phase, the one people instinctively imagine when they talk about renovation. But if the previous stages have been properly handled, the building site is simply the rigorous execution of a project already decided.
A renovation project brings together many trades, which must intervene in a precise order:
- Strip-out and demolition: removing what needs to disappear and taking the property back to its essentials.
- Structural works and services: partitions, plumbing, electrics, ventilation and heating.
- Fit-out works: plasterwork, joinery, floor and wall finishes.
- Finishes: painting, kitchen installation, bathrooms, lighting and ironmongery.
The key role of coordination
Between these trades, everything depends on sequencing. A plumber arriving too late, a tiler coming in before the substrate is ready, and the whole chain is pushed back. Coordination, planning, sequencing and checking quality at every stage, is what separates a controlled project from one that is merely endured. A single point of contact who orchestrates everything spares the owner the often heavy burden of managing a multitude of trades themselves.
Step 6, Handover inspection and snagging list
The works are nearing completion: it is time for the handover inspection. This is not a formality, but an important act that officially marks the end of the works and the transfer of responsibility.
During the handover inspection, the apartment is reviewed room by room to check that everything complies with what was planned. Any defects observed, a finish to be redone, an adjustment to be made, a non-compliant detail, are recorded in a snagging list, which the company undertakes to resolve within an agreed timeframe.
A few useful reflexes at this stage:
- Inspect carefully, without rushing: open every cupboard, test every water point and every switch.
- Note the slightest point of concern; a recorded snag is a snag that will be addressed.
- Keep all documents handed over to you (plans, manuals, equipment warranties).
A rigorous handover inspection protects your interests and closes the project on a sound footing.
Step 7, After-sales service and warranties
Key handover is not quite the end of the story. A serious renovation continues with after-sales follow-up and the protection of legal warranties, which extend well beyond delivery.
In France, a renovation notably gives entitlement to:
- The guarantee of perfect completion (one year): it covers all defects reported at handover or appearing during the following year.
- The biennial warranty (two years): it concerns the proper functioning of equipment that can be separated from the building fabric (taps, shutters, appliances…).
- The ten-year warranty (ten years): it protects against serious damage that compromises the solidity of the work or makes it unfit for its intended use.
Knowing whom to turn to if needed, several months after the works are complete, is an integral part of a successful renovation. It is the sign of support that does not stop at the final coat of paint.
A guiding thread, from first meeting to peace of mind restored
These seven stages have one thing in common: each prepares the next, and the quality of the result is built from the very first steps. A building project is never chaotic by nature; it becomes so when a stage has been skipped, poorly assessed feasibility, vague costing, forgotten authorisations. Conversely, a project framed from start to finish unfolds with a fluidity that often surprises those who feared the worst.
This continuity is what integrated renovation stands for: a single point of contact supporting you from the first visit through to after-sales service, with no gaps and no grey areas. At Lumiera, this seven-step method is at the heart of the way we work, so that renovation, so often dreaded, becomes once again a calm, controlled and rewarding experience.
Have a project in mind? Let’s talk from the very first step: book a consultation visit and come away with a clear vision for your renovation.